So you’ve booked your photo-safari – many congratulations! You are in for an outstanding photographic experience alongside a wonderful wildlife safari. But…..it’s probably as much as a year away?! How should you best prepare in the intervening time so that you are ready to make the best of the experience? I’ve put together a summary of some of the ways you can get ready for the experience. I hope you enjoy reading.
1. Your kit
Photographic safaris are open to anyone interested in enjoying wildlife and getting better photos of wild animals and birds in their natural environment. However, guests will get the best from the experience if they bring a camera set-up that allows them the following:
– an appropriate range of focal lengths, including a long telephoto lens of at least 300mm (450mm on a small-sensor camera)
– a camera with easily adjustable ISO, shutter speed, aperture and exposure compensation controls
– a camera and lens combination that offers good performance in low and challenging light. There is much more about the recommended camera equipment on my About Safari page.
I am always happy to offer advice and suggestions on the best kit to bring on safari, and it doesn’t have to be top-of-the-line! Many photographers make outstanding images with decent telephoto zooms and mid-range pro-sumer dSLRs. There are lots of options available and I’ll be pleased to discuss these with you.
2. Camera Set-up
There are lots of ways to set-up your camera, based on Manual or semi-manual modes. Many wildlife photographers choose to set their cameras to Aperture mode, fixing that at a standard setting and then using ISO to adjust the resulting shutter speed. While this is probably the most widely-used framework, it is not the only one. I created a blog post about ‘getting off AUTO mode‘ which you can read as a good starting point.
While AUTO mode will often deliver excellent images, too many of the decisions are left up to the camera’s “brain”, not your own. This will often work well in good light, but when the light begins to drop, instructing the camera what to prioritise will help you achieve photos of a quality that you hadn’t thought possible.
3. Develop Skills
With a modern dSLR in your hands, you have a very powerful imaging tool. Tell it correctly what to do, and it will deliver you outstanding images. During a photo safari we aim to ‘create’ excellent images, using the camera’s many features and technologies to assist us. Ideally we will adjust the camera’s settings to give us images which require little or no image processing – getting the image right ‘in-camera’ is the aim!
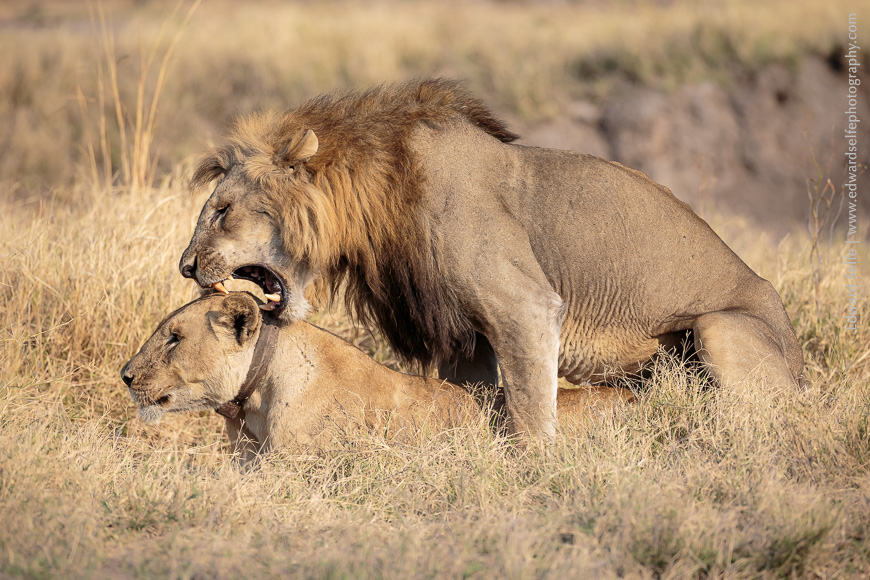
To do this, we need to tweak and adjust the camera’s settings continually, probably at each and every sighting: perhaps a 2/3 stop over-exposure at an eagle sighting, and then 1 stop underexposure while photographing baboons to enhance the halo of backlit hair around their bodies; on finding lions feeding on a buffalo in the shade of a tree, you’ll need to increase your aperture (for more depth of field) and therefore increase the ISO to ensure the shutter speed is fast enough. These are just examples, of course, but show that we constantly adjust settings so that we get a correct image ‘in-camera’ rather than fixing it on Lightroom later. Yes, you can make amazing adjustments with software, but a photo safari is about creating good images using the fantastic tool at your disposal.
Therefore, I would strongly recommend that you take time to learn how to adjust your ISO, your aperture and your exposure compensation quickly and accurately. Ideally, you will be able to do this without taking your eye away from the viewfinder. It may feel strange at first, but with a little practice, your fingers will learn where to find the buttons, and do so very accurately.
4. Practice
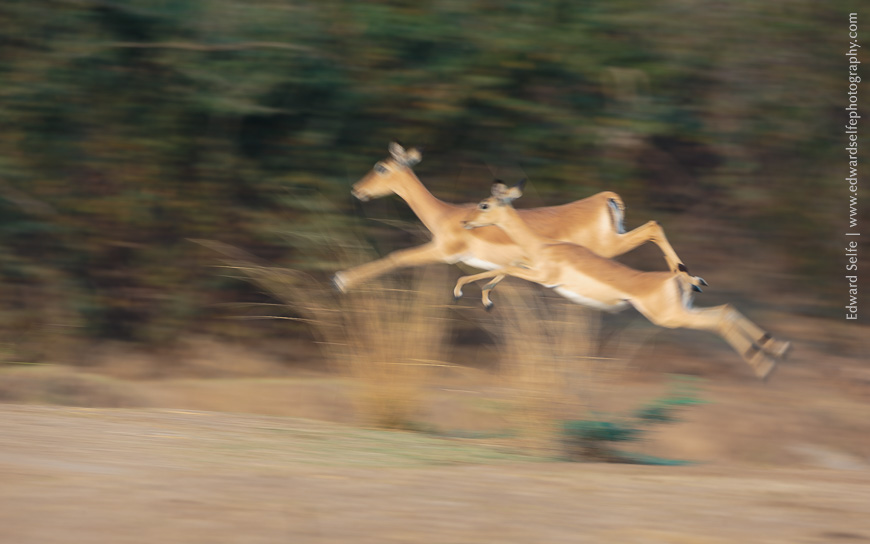
Of course, the best way to cement new skills is to put them to use. Certainly it’s hard to simulate the photographing of elephants feeding at a tall tree, but taking your camera out into the park, or to a local wildlife area will give you more than enough chances to practice adjusting your settings to the changing surroundings and changing light. The resulting photos are not important – although I hope you get some great ones! – but more important is the process that you go through to get them.
I have regularly seen my guests quickly adjusting camera settings at the end of a week’s safari in a way that they would not have been able to at at the start of the trip. If you have time to go through this “familiarisation” stage before you arrive, it will pay dividends during your trip. Good luck with it, and do not hesitate to send me any questions that come up.
5. Read
Finally….read! There are lots of excellent camera and photography resources on the web – as well as a good sample on my photo skills blog! If you are challenged by a particular factor in your skills, have a look on my blog, or on the wider web and there will be an article which will help. If you don’t find one – or even if you do! – I am more than happy to answer any questions that you might have.
I hope this helps you with your preparation, and helps you use the time between now and your safari effectively! Enjoy your photography!