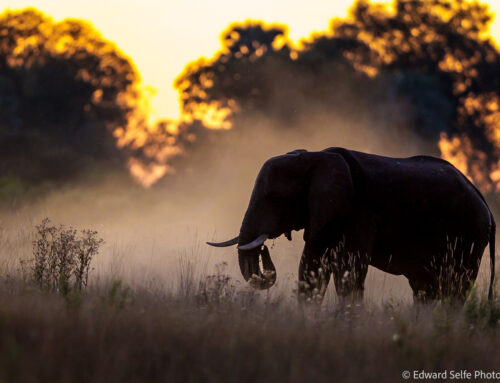
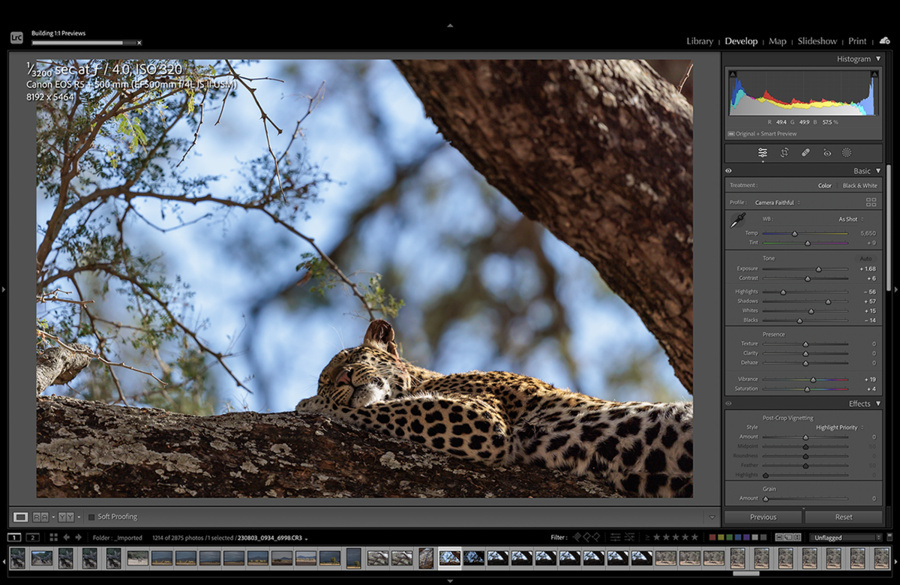
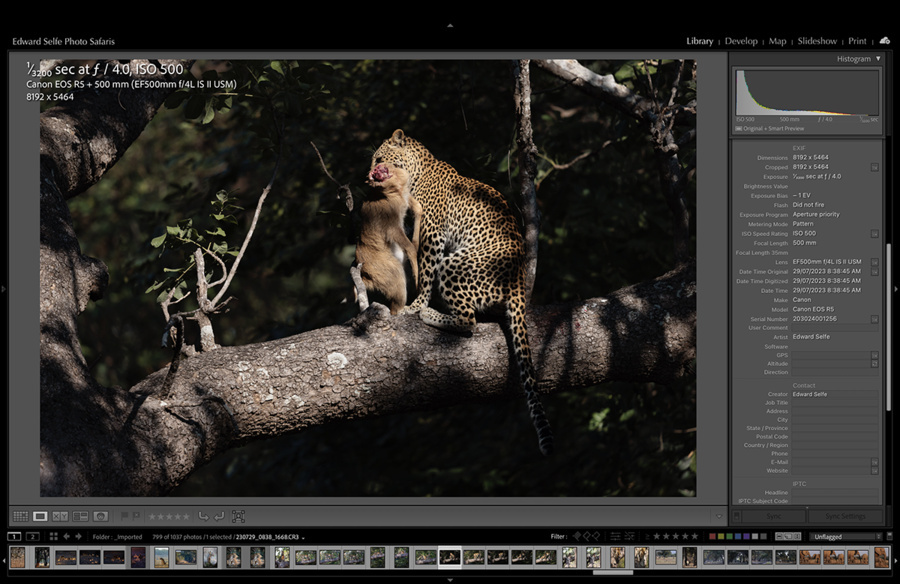
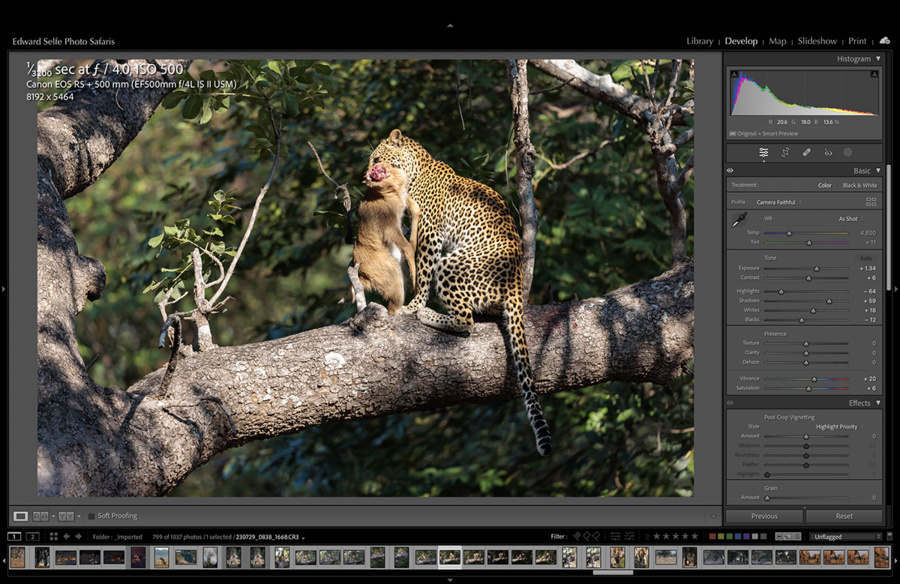
In the beautiful forests of Zambia’s South Luangwa, we have the opportunity to shoot wildlife among the big trees. It’s an unusual setting by comparison with much of Southern Africa and makes for spectacular images. However, as the light starts to get stronger in the late morning, the contrast increases between the brightly-lit areas and the darker shadows beyond.
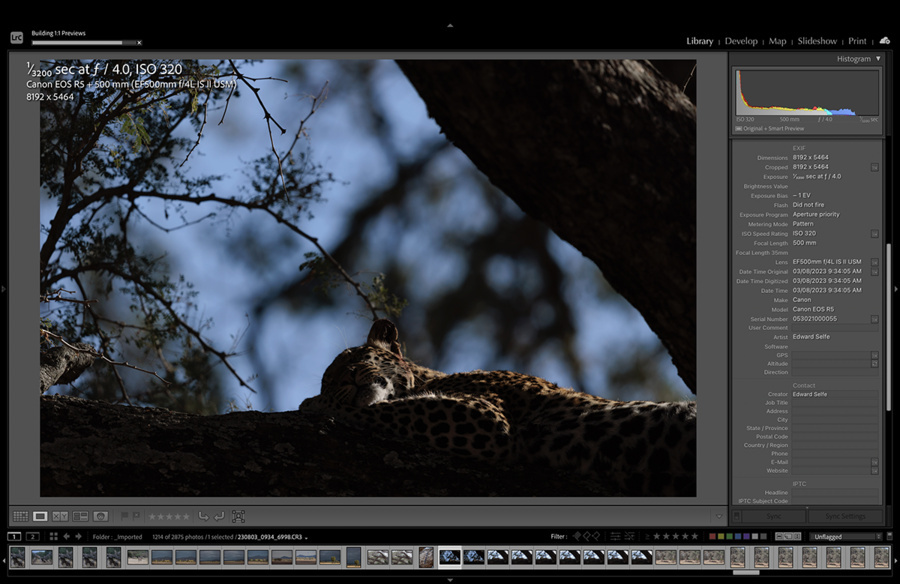
Cameras are getting better at dealing with this high ‘dynamic range’ but the full potential of the image is often only revealed in post-processing. In order to get the best from your image, you need to shoot with post-processing in mind. On the back of the camera, the image may not look optimal, but you know in your mind that the shot can be improved in editing as there is lots of information that is not shown in the original RAW file.
The general concept is that more detail can be ‘recovered’ in the shadow areas of an image than in the highlights. If the highlights are blown (i.e. close to or beyond white) there is no detail to be recovered. But there is much more detail that can be recovered in the shadowy areas of an image. So, shooting an image a bit too dark allows much more latitude in editing than shooting one too bright. This leads to the idea of ‘shooting to the right’ which refers to ensuring that the image’s histogram is as close to the right hand end (the highlights) without touching the end….
Shooting like this ensures that you have not clipped the highlights but you will require as little post process of the shadows as possible. One could choose to shoot all images at minus 2 exposure (I know a couple of people who do) and this is also an option, but I prefer to work on a case-by-case basis.
A couple of examples below using leopards in trees which are times that this problem occurs frequently and are situations where guests are most keen get great results:

Thanks for reading. Keep in mind this idea when you next face a high-contrast scene; the best you can do is to shoot the image as bright as you can without blowing out any of the highlights.