Over the coming months, as well as bush updates, I will be posting blogs about how to take photos in some of the more challenging situations. These include backlit subjects, night photos, birds in flight, low light photography, sunsets and several others. Watch out for the “Photo Safari Skills” tagline.
First up – NIGHT PHOTOS
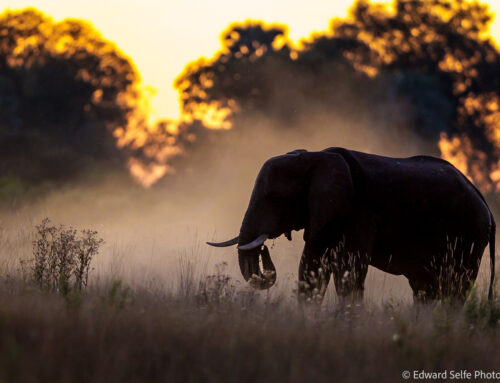
The opportunity to conduct night-drives is a major draw for many of South Luangwa’s visitors. Certainly it is an added bonus for most safari-goers who are used to leaving National Parks at sunset or dusk. Even the opportunity to be out in the bush somewhere at sunset is a privilege that we all cherish.
But where does it leave photographers? Is is possible to take photographs at night, or should they put their cameras away and just enjoy the view like everyone else?
Far from it! Taking photos at night with only a spotlight for illumination is a challenge, but with practice, and correct camera settings, it can be done and wonderful effects achieved. But why is night-time photography so difficult? Here’s a few ideas:
- Very little light – certainly compared to daytime shooting
- Uneven light from the spotlight
- Animals are often moving
- Focusing is difficult because of low light levels
[Using flash on night drives is also possible, but this tutorial assumes that you are using only a spotlight for illumination.]
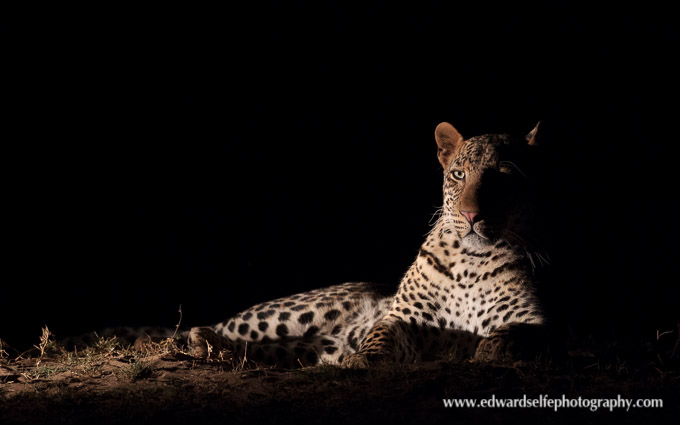
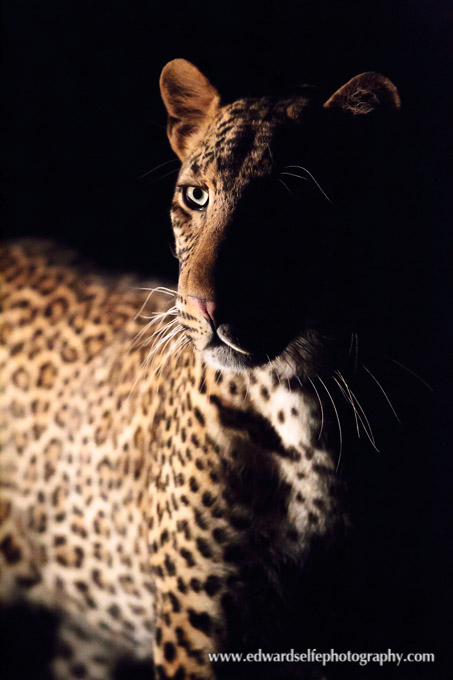
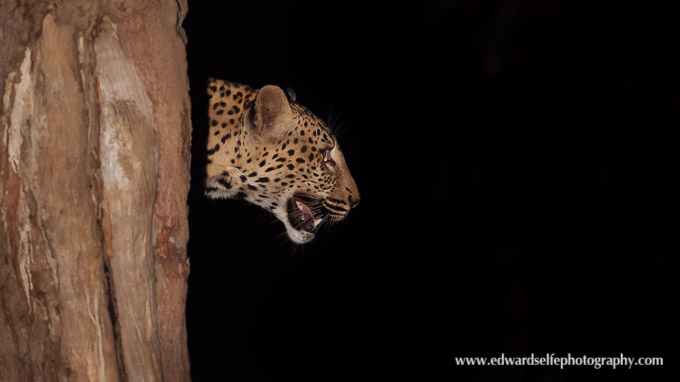
First, let’s start with a couple of examples of the kinds of images we usually see on night drives….!
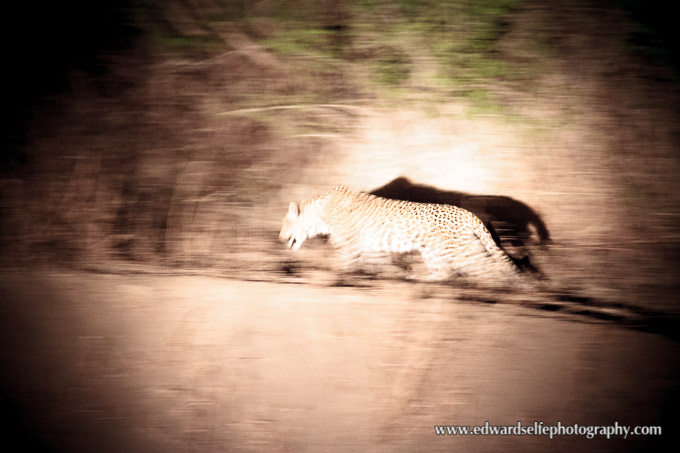
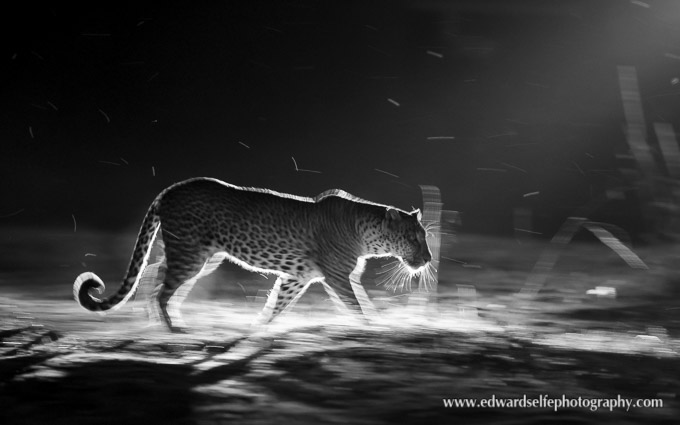
Over-exposed, showing very little sharpness and lots of motion blur. This is completely understandable and I took quite a few photos like this before I worked out what the problem was! It’s a bit counter-intuitive, isn’t it?! There’s very little light and yet the image is coming out over-exposed.
Think about this for a moment as it’s not immediately obvious. If you take a photo of a piece of white paper, you would expect the photo to come out white. In fact, you will find that a photo of a piece of white paper will be gray. This is because the camera has reduced the exposure to make the image, on average, middle gray.
Equally, if you take a photo of a black wall, it will come out much lighter than black, more like a mid-gray. This is not a fault – this is what your camera is programmed to do so that in normal situations, it gives an image that is (crudely speaking) in the middle of the range between black and white.
Of course, the camera doesn’t know what you are photographing (only its relative brightness) so the real challenge comes when the camera is faced with a scene where there are areas of bright white and areas of dark black.
This is exactly the case with night drives. The camera sees that a small part of the frame is taken up with a brightly-lit subject, but the majority of the frame is almost black. If 10% of the frame is brightly lit, but 90% is very dark, when the camera’s light meter takes a reading and does some averaging, it will decide that “it’s very dark out there”!
It responds by giving you a very long exposure (to let in lots of light), which not only creates an image that is too bright, but also introduces movement blur at the same time!
So how do we combat this? We can use one of two methods:
- Using spot metering
- Using exposure compensation
1. Spot metering is the preferred choice. This is a metering mode that measures the light level in only a very small area of the frame. Choosing this metering mode instructs the camera to determine the exposure using only the lighted area of the scene, and ignore the dark surroundings. This should lead to a better exposure, although it’s always good to keep an eye on the screen on the back of your camera to make sure.
2. Exposure compensation is the second option. This is a +/- button on your camera that allows you to over-ride the camera’s measurement of the exposure. If you dial in an under-exposure of -1 the camera will give you an image that is much darker than when EC is set to zero.
So the question is, how much EC do I need to apply? And that is the problem with using this method. The amount of EC that you need to apply depends upon the difference in brightness between the lightest and darkest areas of the image and the proportion of light to dark in the image. You would have to estimate the EC required, and this would change if, for example, the animal you are photographing approached you and the lighted area in the spotlight became larger, compared to the dark surroundings.
So this is why I suggest using spot metering for night drive photography. Sometimes, I even find that I have to apply negative EC as well as spot metering, but usually not. It’s a case of trial and improvement with night time photos, but some amazing effects can be achieved in the end.