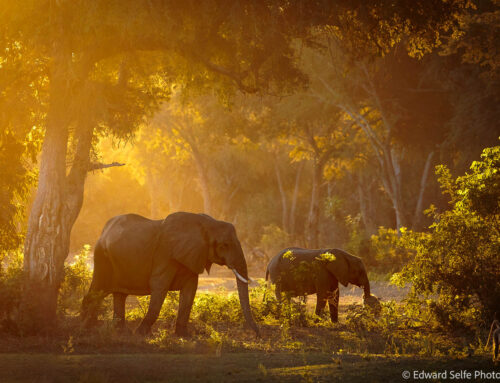
Photographers are always seeking ways to add impact to their photos. A well-known trick is to photograph your subject from an interesting angle. Given that we tend to see animals from a slightly elevated position, it is the unusual angles of from “low down” and from “overhead” that are most interesting to viewers.
In this article, I’m going to explore the technique of “getting low” and show, with some diagrams and example images, the effect that this will have on your images. Knowing the very desirable impact that a low angle has on photographs, finding a suitable spot to achieve this effect is very high on my agenda as a guide when I approach a sighting.
First, let’s define exactly what I mean by the angle of view. This refers to the perspective that you have of the subject that you are photographing; are you above or below it, close or far, and what is the relationship between the subject and the ground around it. These factors are all important in determining the final image.
Let’s look at some diagrams to illustrate this.
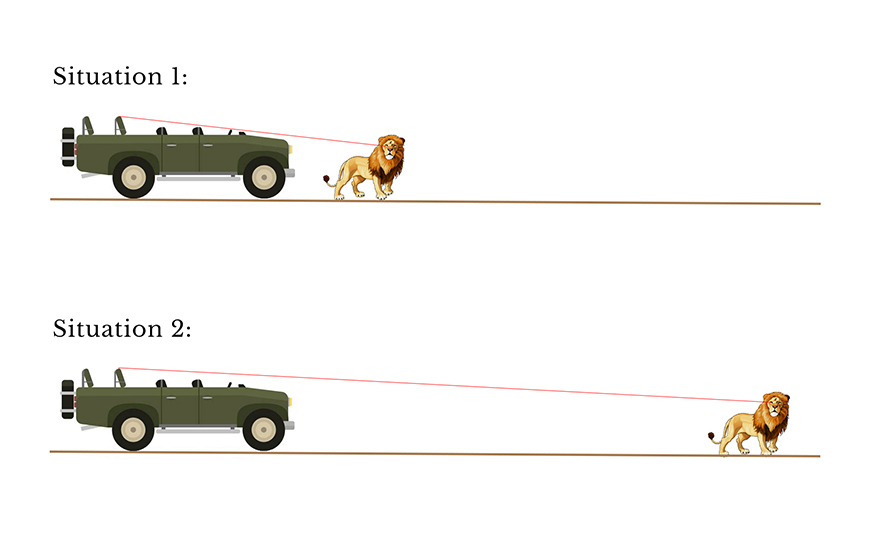
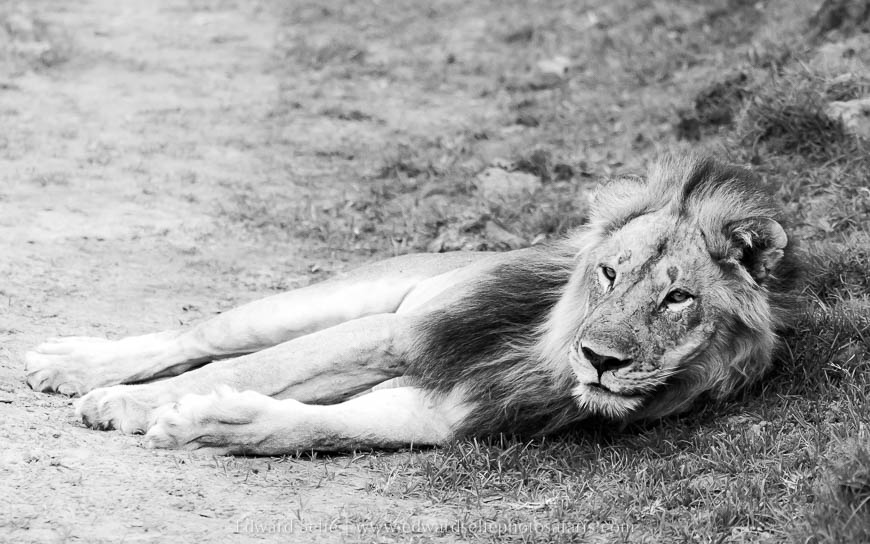
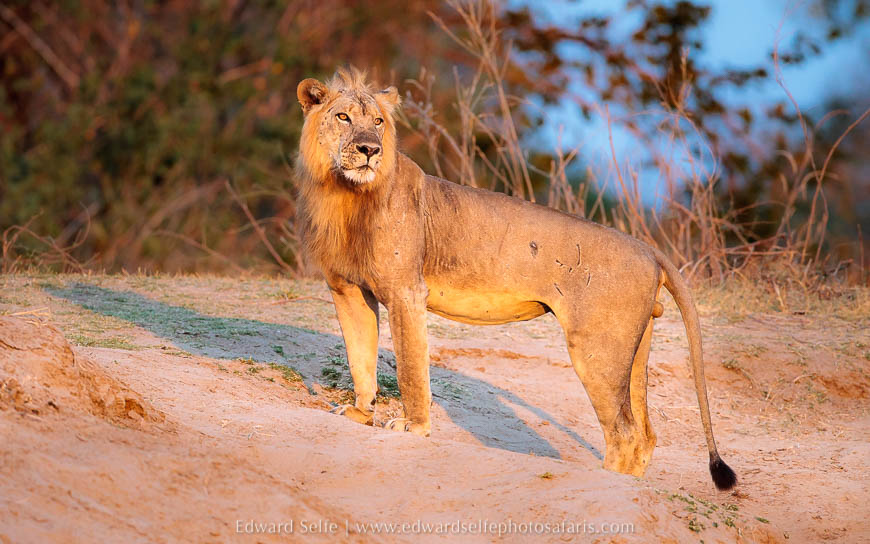
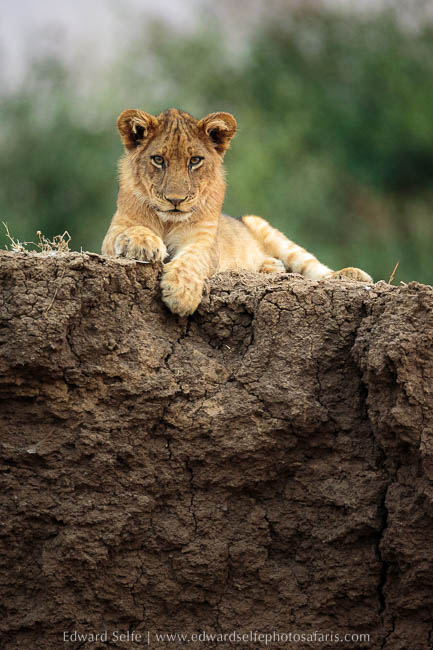
I the two scenarios above, we can see the angle of view that a photographer in the vehicle would have of this impressive-looking lion. In situation 1, the guide has parked very close to the lion, so the photographer is looking down on the lion. This will give him or her a view of the top of the lion’s head, and will also place the ground below the lion as the background to the shot. Wherever possible, I try to avoid shots such as this, but I have found a photo in my archives that shows the resulting effect from this kind of scenario.
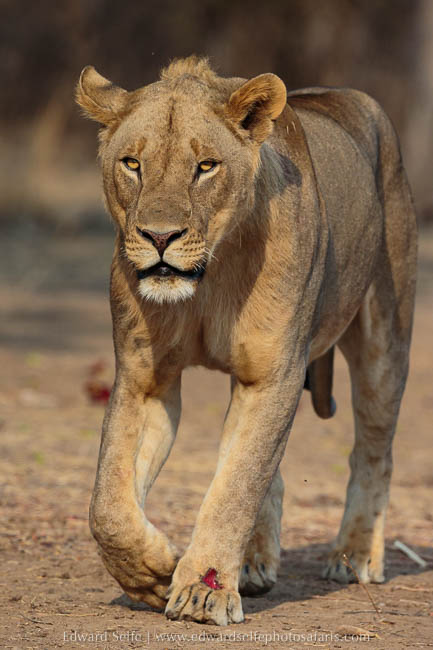
Similarly, this image of a young male lion with a gash on his foot shows quite a lot of ground below the subject which is not very flattering.
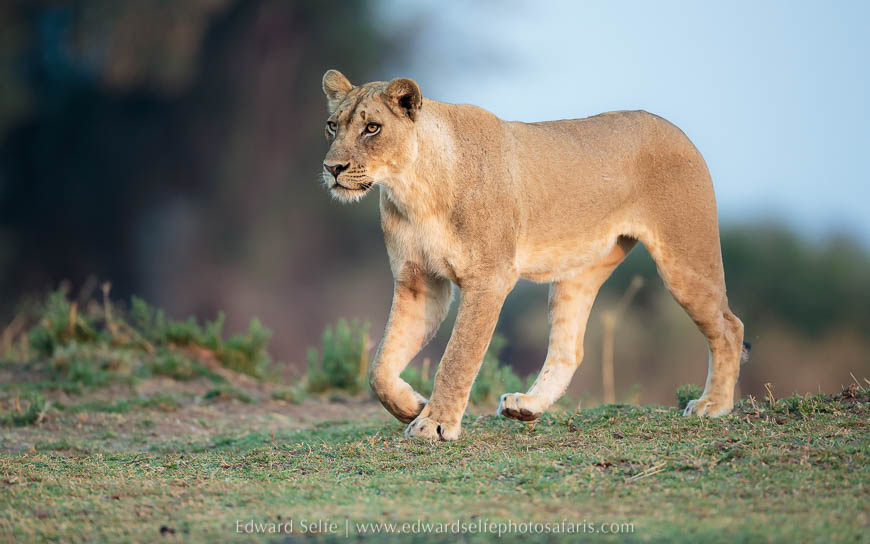
Ideally, in the situation above, the guide will assess the reach of his guests’ cameras, and park so that they can achieve great frame-filling shots but not much closer than that. This will ensure that the effective angle of view is as low as possible, as in situation 2 above. Examples of the improvement that this position offers compared to situation 1 are shown below. The advantage is that the camera sees the side of the lion, not the top, and the background is made up of the ground behind the lion, not the ground below it. This is beneficial as the background will likely be more blurred and therefore not compete with the subject. (Of course, parking further away does not allow creative close-up shots, but these can be achieved later once the chance to show the animal in its environment has been exhausted.)
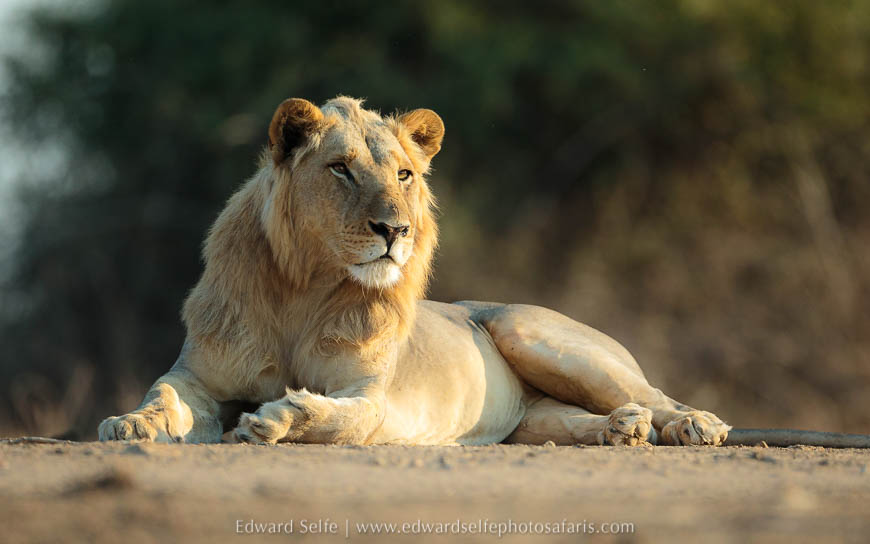
Sometimes, a guide with photographers in mind can do even better than this, and find a location where his guests are below the subject. This is far superior to the scenarios outlined above, though not always possible of course. Added to this, the guide must also balance the need for a low angle of view against the angle of the light, the position of the subject and environmental factors such as trees! But, assuming that it’s possible, a guide might try to find a location such as the one in situation 3 below.
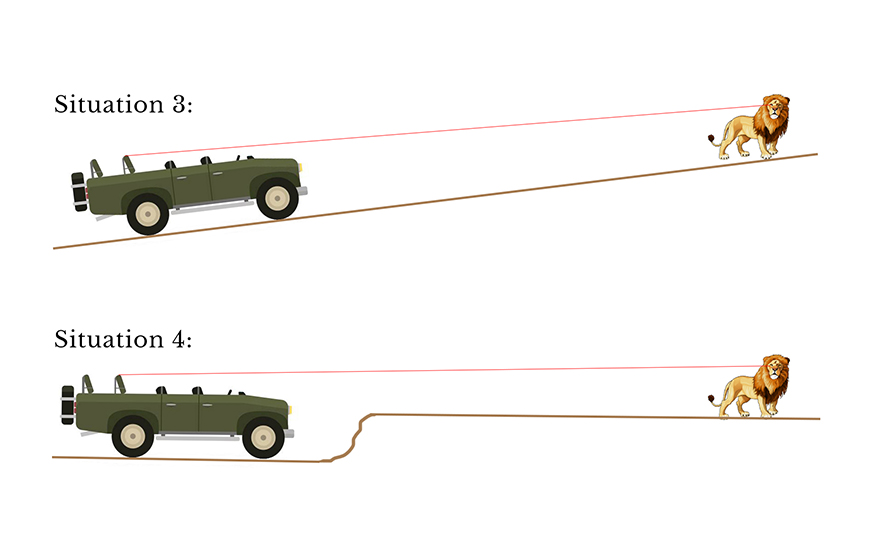
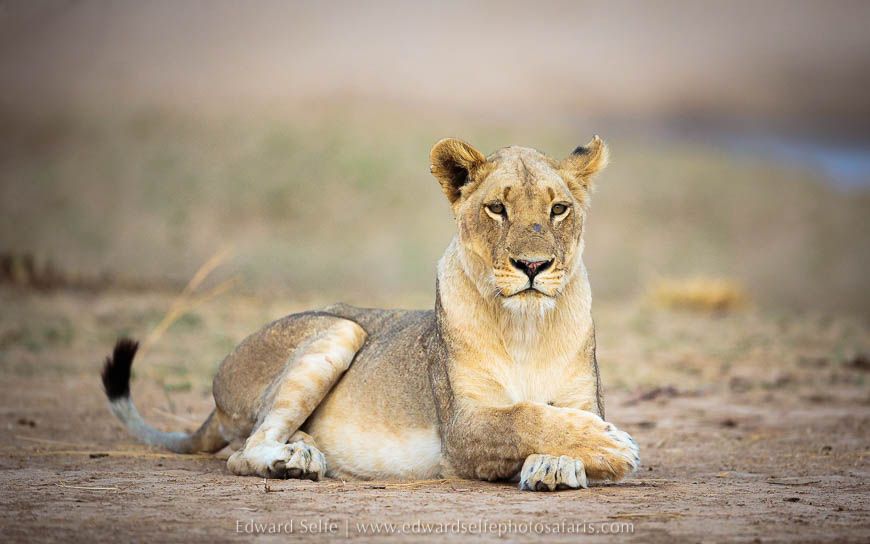
The benefit of this location is clear. Photographers can take shots of the lion from a position that makes him look large, imposing and regal. He is likely to be looking down on the camera, which will add to the impact of the shot. On the negative side, because the ground is rising away from the camera, the background will still be made up, in part, by the ground as it rises into the shot. However, this is not a serious disadvantage and most photographers would be very happy to have a chance at lion sightings such as those below.
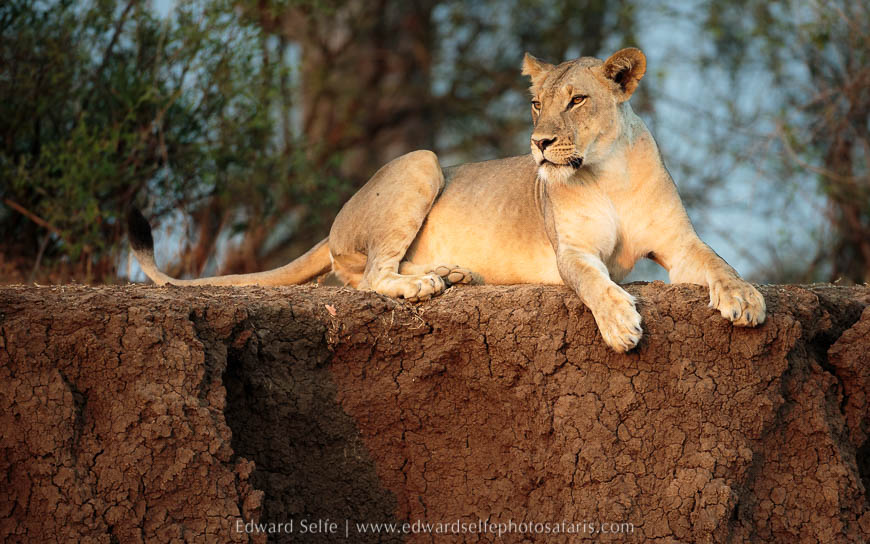
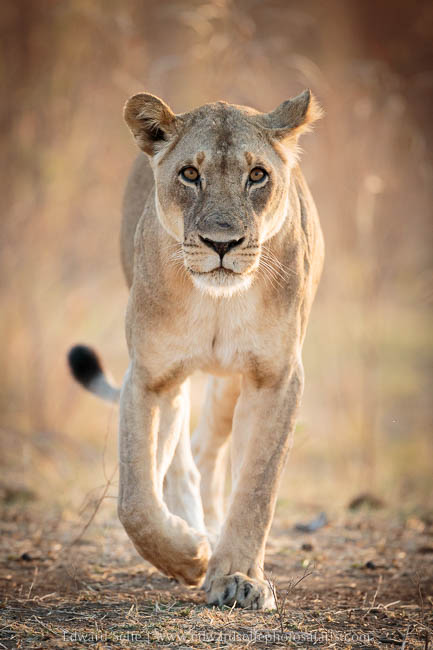
However, best of all is when the guide can put his guests into a situation where they are in a gulley or depression, looking across at the subject. The view will be of the animal’s flank from a low perspective and the background of the shot will be made up entirely of the animal’s surroundings, not the ground below it. In many of Africa’s finest reserves, and especially in the Luangwa, drainage channels and gulleys offer guides the chance to achieve just this. When paired with an animal that is in an interesting pose, or approaching the camera, situation 4 will allow for the creation of wonderful photos. A few examples of shots from this low angle are shown below.
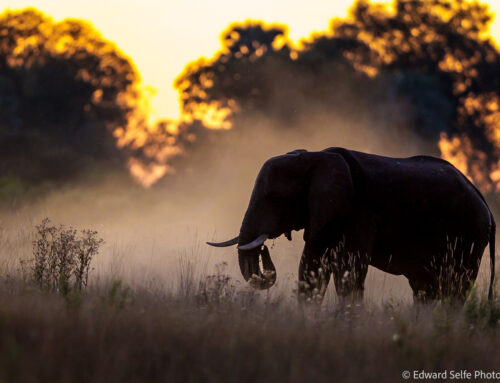
In this article, I have used entirely images of lions – and a couple of clip-art imports – to keep some consistency. But the same principles can apply to most animals. It’s worth keeping in mind that the smaller the animal, the more important it is to try to find a low-spot from where to show it at its best. Large animals need less effort to show them from a low angle….but when you can get low down below a mature bull elephant, be prepared for incredible images!