Even those who know almost nothing about photography will know that you “put the sun behind you” when taking photos. This is not a bad maxim to use for photography and certainly it’s a safe bet that images taken with the sun behind the photographer will turn out just fine. But, applying this maxim to every subject that you encounter doesn’t normally give the best results. Let me show you why….
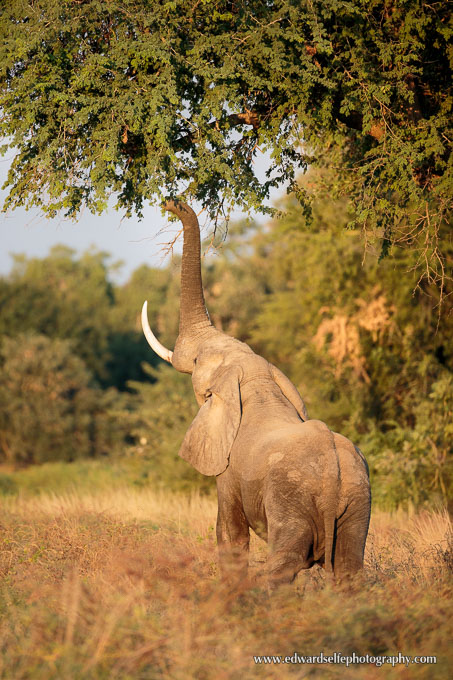
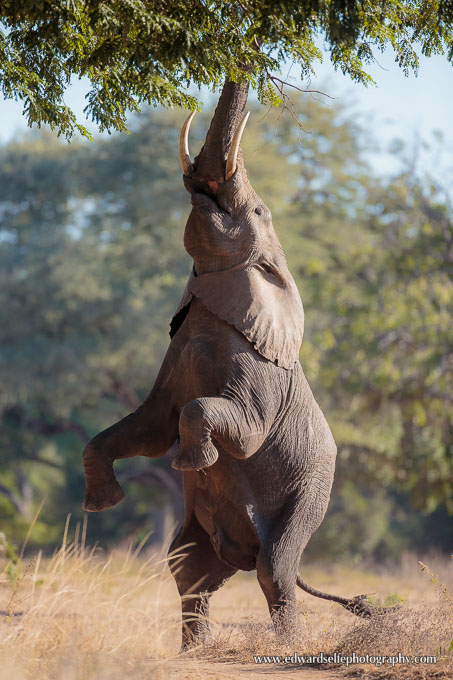
Take this shot of an elephant reaching for the branches of a Winterthorn Tree. Of course, the image could be immediately improved if the elephant was facing towards us rather than away, but we can’t often control wild elephants. The light is beautiful, developing the soft tones and colours of the late afternoon. But the light is also completely “flat”. Because I have the light directly behind the camera, it is filling every fold and depression in the elephant’s body so the subject’s shape and form are concealed.
Here’s another example. This is the sighting of a lifetime: a leopard resting in a tree in early morning light. My first mistake was to use a lens that did not give a diffused background blur, and allowed the bright highlights to show from behind. But I also positioned myself so that the light was directly behind me. This gave the leopard’s face and body no definition, and the beauty of the cat is not shown at its best.
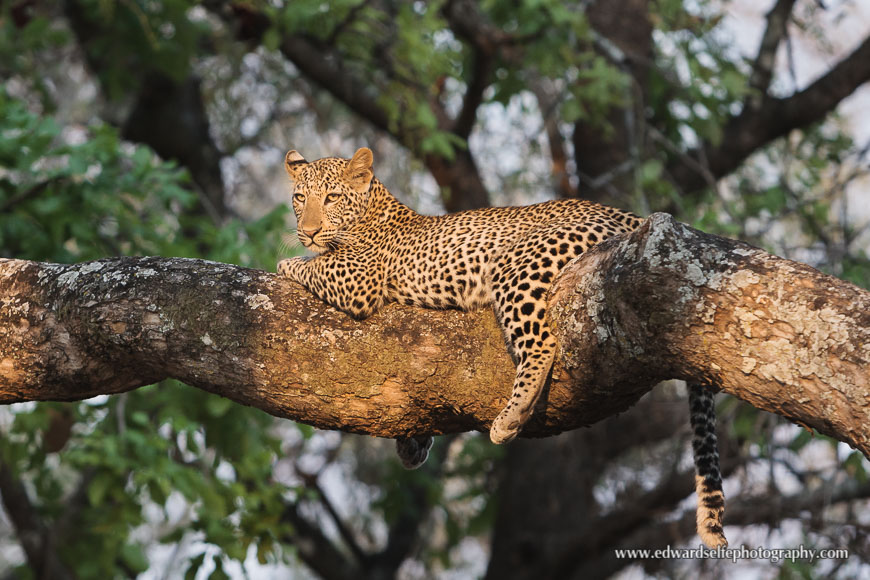
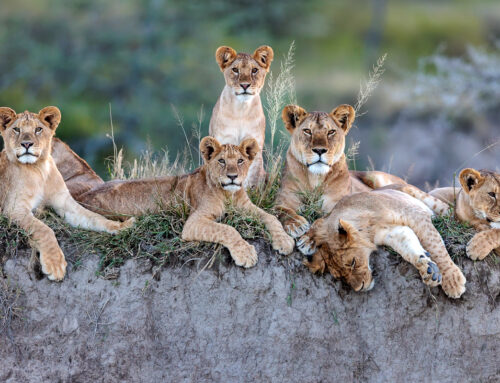
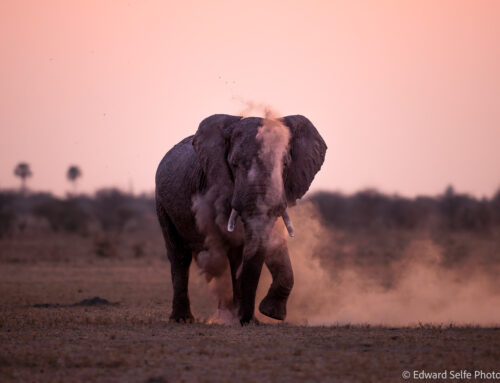
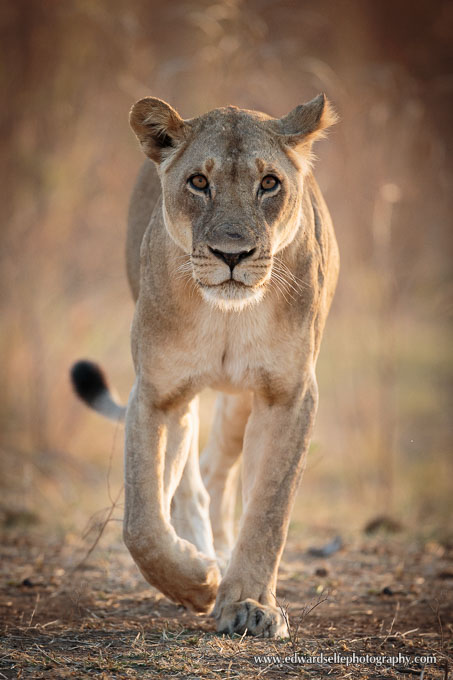
So what should we do instead? Well, of course, not every sighting of wildlife allows you the benefit of maneuvering to get the angle of light that you want. But, given a choice, lighting coming from the side (or slightly in front of side-on) often gives the best combination of illuminating the subject in a flattering way but also revealing form and shape. Here are a few examples where I feel the lighting has worked in my favour:
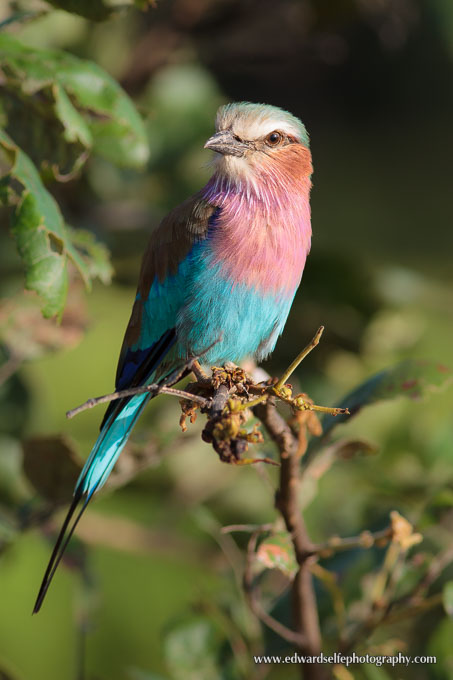
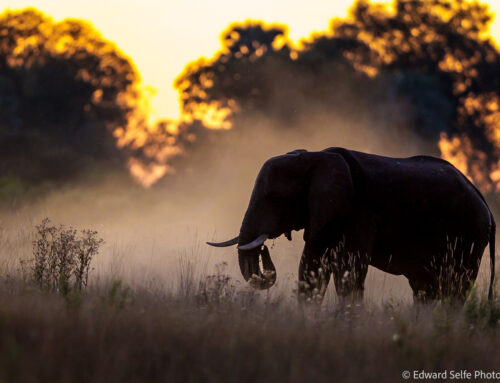
It’s also possible to position the light behind your subject (i.e. in front of the camera) but this usually requires the soft light of early morning or late evening. Here is an example:
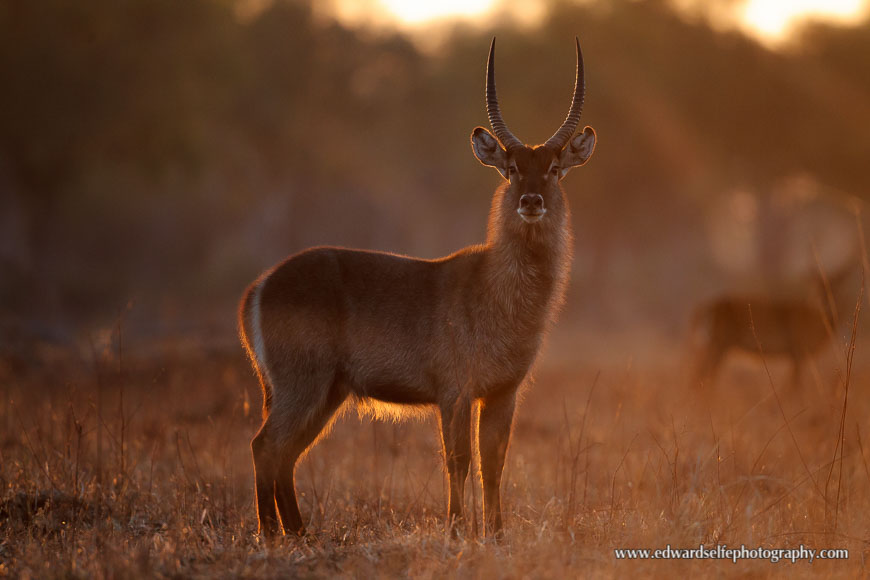

The lesson – if we can go as far as to call it that! – to take from this post is that simple lighting from behind the camera will always give you a decent image. (This is also the safest option when the light is bright later in the day.) But there are many other options to explore and side-lighting is probably the first to attempt. This method will bring 3D quality to your subject but not leave you with harsh shadows. Backlighting is perhaps the toughest to pull-off but in the early morning, it will give wonderful effects.
Good luck and enjoy your photography!